In terms of chemistry, we can define soap as a cleansing agent, usually consisting of a metallic salt from a fatty acid. Soap is also considered a “surfactant” which means that when added to a liquid, it will increase that liquid’s surface tension. In other words, soap makes water...wetter!
There are five main methods of making soap, assuming you count liquid soap as one of them. In this article, we are going to do a quick run-down of these methods, considering both the advantages and disadvantages of each one! If you’ve already done your research and know which type of soap you want to make, click here for in-depth instructions on how to use each of these methods!
- Cold Process Method
- Hot Process Method
- Melt-and-Pour Method
- Rebatching Method
- Liquid Soap
1. Cold Process Soap Making
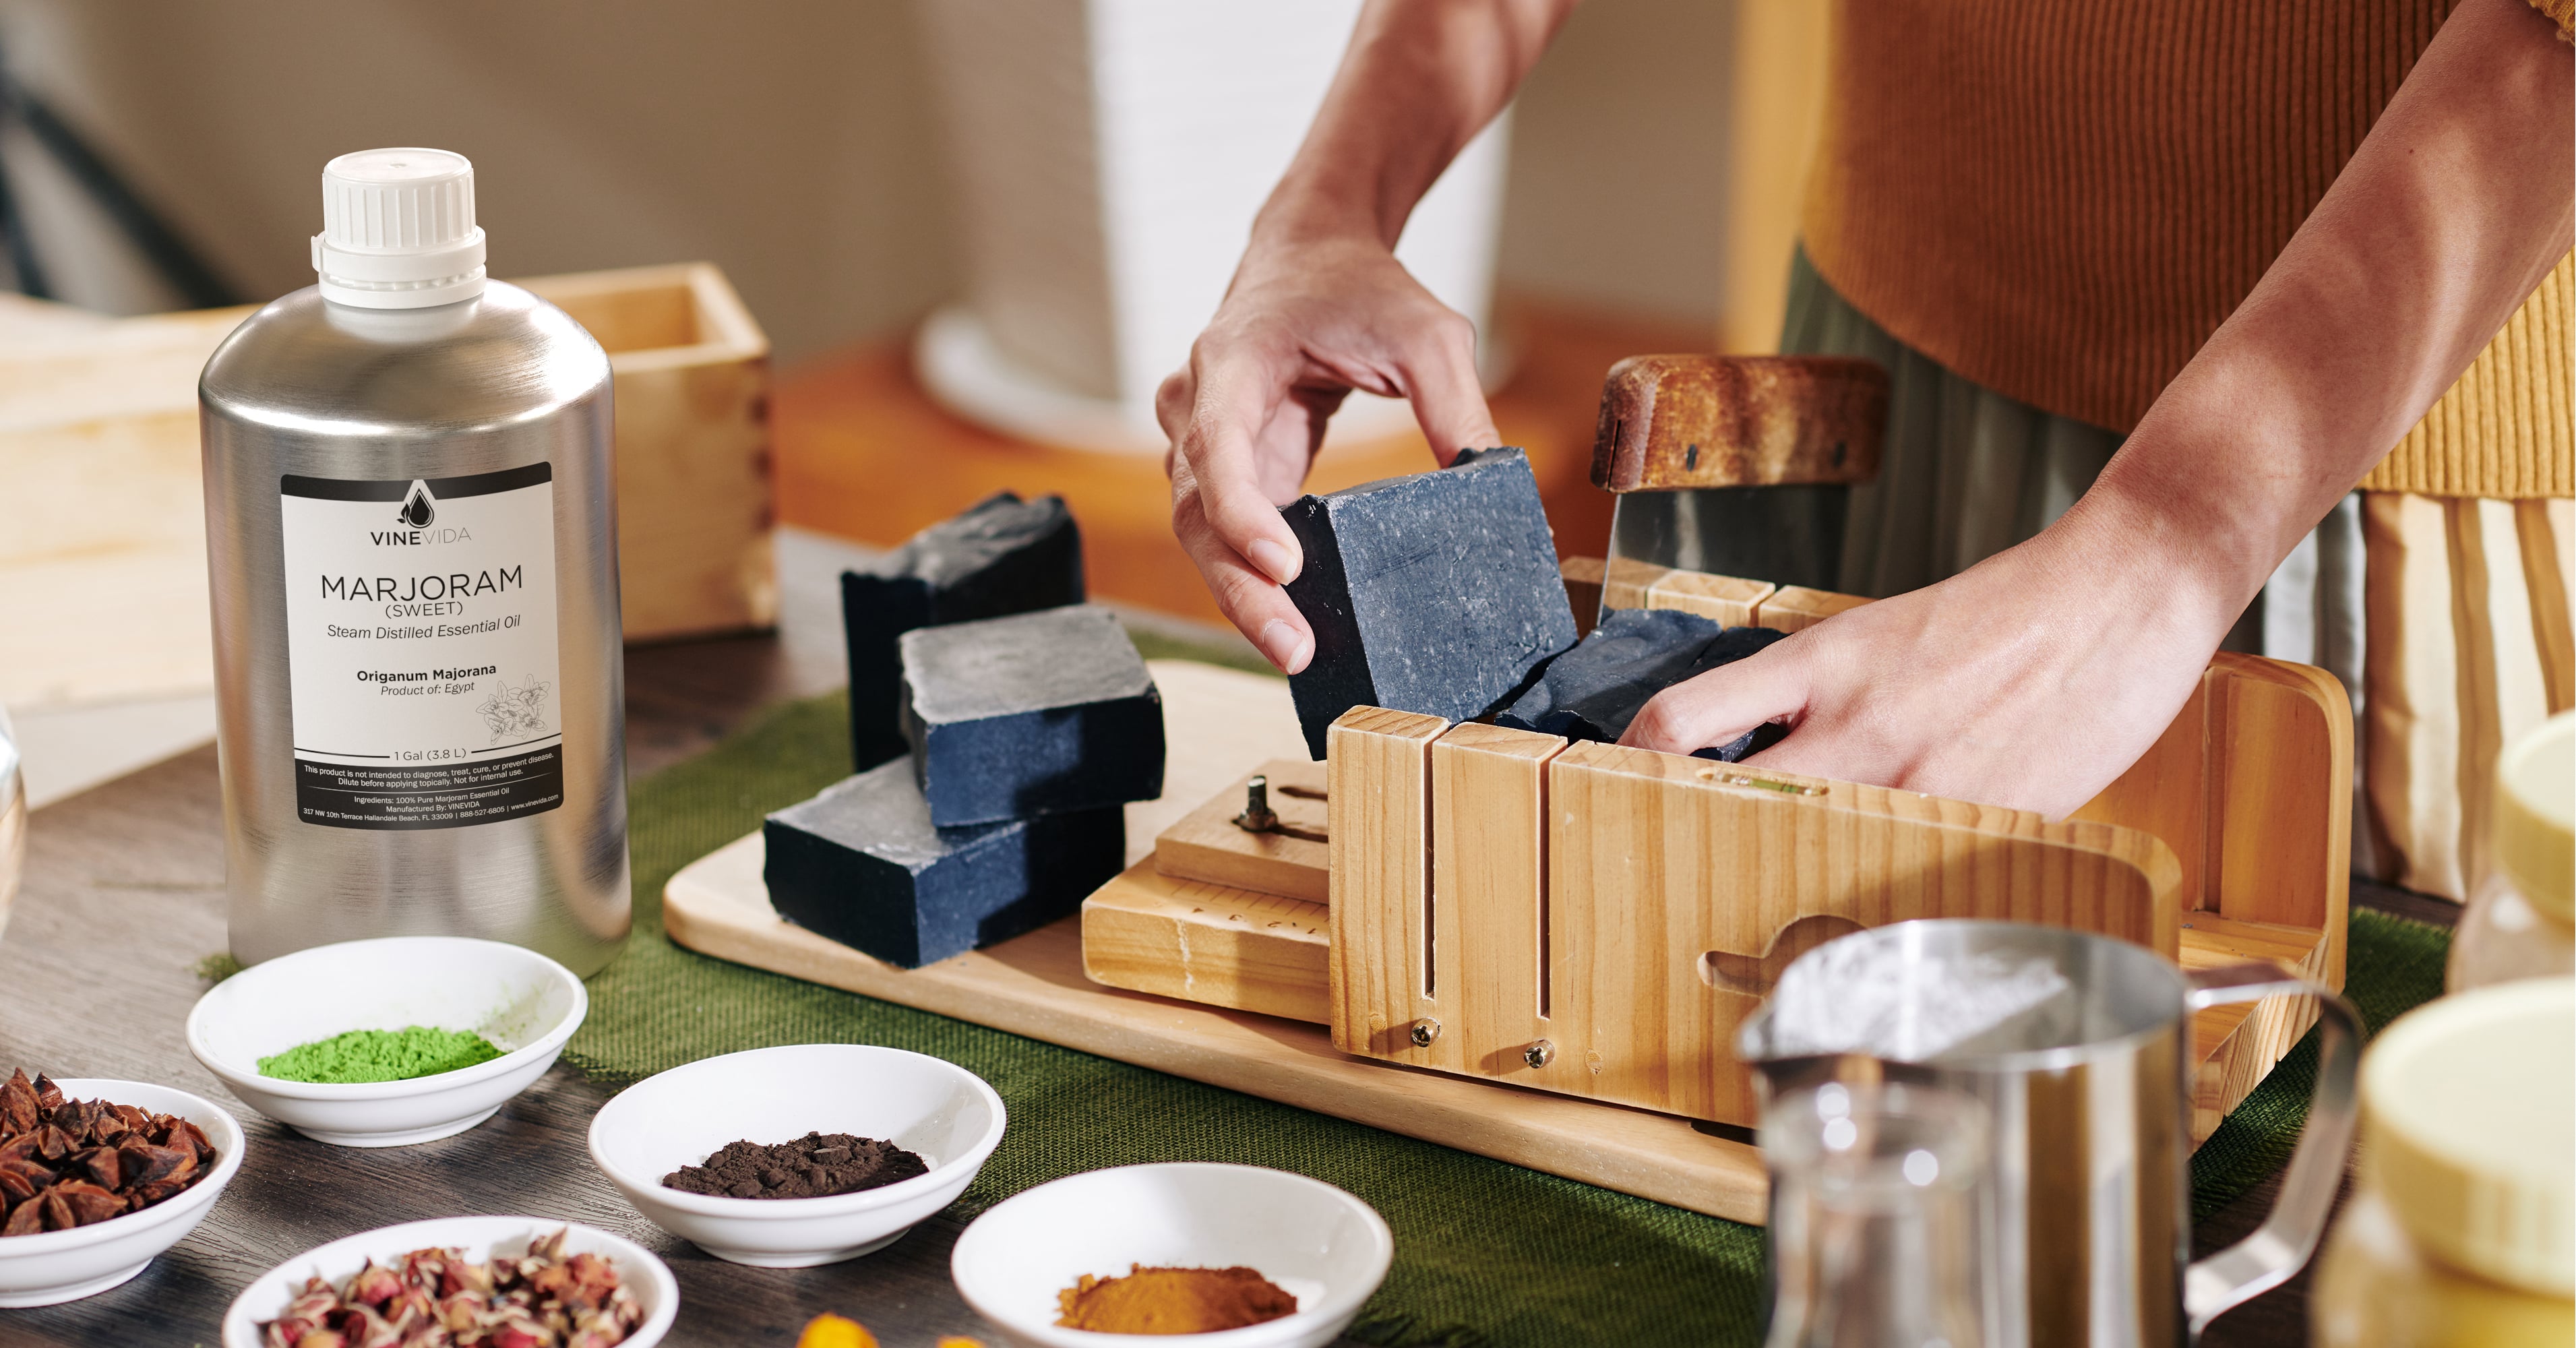
This is the most common type of soap making, though it is slightly more difficult than the melt-and-pour method. One of the advantages to cold process soap making is that it offers you the option to use essential oils in your soap, or add in other herbs, fragrances, and colors as you prefer. Additionally, cold process soaps are of higher quality and last longer than other soaps. However, there are also some disadvantages, as this method involves using dangerous chemicals, meaning you need to use proper safety equipment and precautions. The soap also takes a long time to prepare and cure, meaning the process can take up to six weeks from start to finish.
2. Hot Process Soap Making
Similar to cold process soap in terms of ingredients, hot process soap making differs because it is cooked instead of cured! This means you won’t have to wait the long curing time you do for cold process soap, but you are adding the element of heat, which is an additional safety concern.
3. Melt-and-Pour Soap Making
If you are just starting out on your DIY soap-making journey, the melt-and-pour method is the perfect place to start. It involves buying a soap base (online or at a local craft store) and then experimenting with add-ins such as essential oils, colorings, and fancy molds. This method of soap making is great for doing with older children (under adult supervision, of course), and doesn’t cost a lot in terms of materials or time. The disadvantages of melt-and-pour soap are that it tends to be of lower quality, and there aren’t always a lot of options when it comes to choosing which soap base you wish to use.
4. Rebatched Soap Making Method
In some ways, the rebatched soap method is similar to the melt-and-pour method. It involves taking existing bars of soap and melting them down, thus creating your own new blend. You can use milk, tea (infused with herbs), or water to melt the soap, which will contribute to your new creation. This is an easier and safer route to go in comparison to the hot and cold process methods of soap making, but it does limit the amount of creativity you get to use.
5. Liquid Soap
These days, a lot of people prefer liquid soap to bar soap, due to ease of use. Liquid soaps are easy to make, and they have the added benefit of being great gifts! This method involves taking a bar of soap and melting it down with water and glycerine until it dissolves into a liquid base. You can then customize it with essential oils and coloring agents.
Conclusion
What soap method you decide to use will depend on your skill level, as well as the amount of time and preparation you are willing to put into the process. Making soap at home is a great way to know for sure what is going into your product. It also gives you a way to customize your soaps, with unlimited options for creativity. In our next article, we will go further into each one of these methods, explaining the process for each!